So you’re putting together a recording studio. Next on your purchase list? A MIDI controller. The only catch is that you’re not quite sure what you should be looking out for. That’s where this article comes in. We’ll give you a brief run-through on all things MIDI. You’ll practically be a professional by the end of this page. At least, when it comes to MIDI controllers.
MIDI controllers, for all their futuristic moniker, aren’t such a new invention. They sprung up in the early 80s as a form of inter-device communication. The system worked so well that it’s remained a mainstay in the recording world ever since. These days, a MIDI controller generally refers to any piece of equipment that either generates or acts as a go-between for MIDI (Musical Instrument Digital Interface) data. As a rule, these controllers don’t usually produce audible tones on their own. You’ll need to trigger MIDI data on their interface, which in turn gets transmitted to a sound module or synth. From then on, said data is relayed to the speaker, and out into the world.
Assuming that you’re already familiar with your own production style, determining the type of MIDI controller you need is simple. Once you’ve settled on a few characteristics, it’s a matter of narrowing down the choices until you’re left with that perfect blend. So whip out your checklist, put your feet up, and dive right into our guide to MIDI controllers.
Read more: The Best MIDI Controllers for Under RM1,000 for 2022
Types of controllers
Keyboard controller
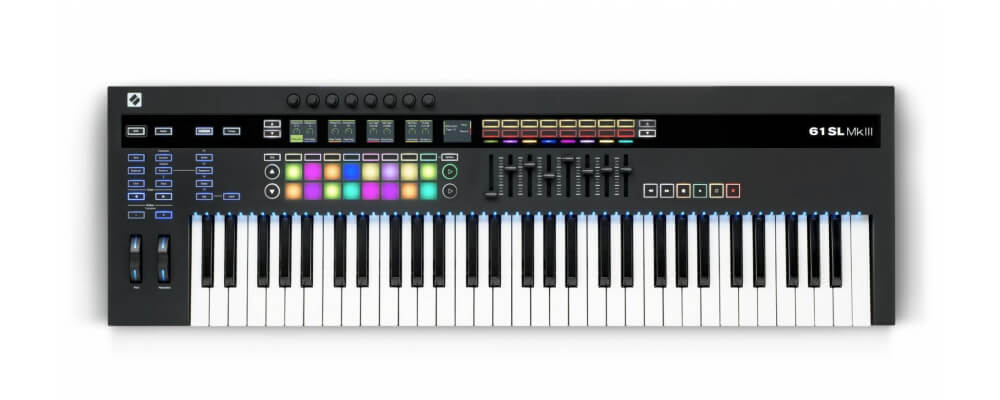
Without a doubt, the most iconic and ubiquitous of controllers. In case the name didn’t clue you in, it looks just like a piano keyboard, albeit with a selection of knobs, buttons, and faders. You might stumble upon a mod wheel or two. These little touches are hands-on methods for real-time sound shaping. Many find the analogue feel of keyboard controllers a lot more enjoyable than using a computer and mouse.
Considering a keyboard controller? Check out these “key” features to see which one suits you most.
Number of keys
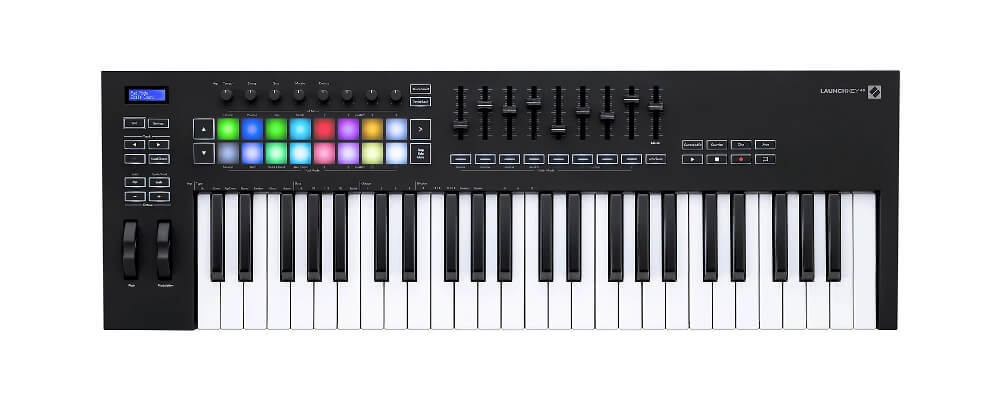
From a space-saving single octave’s worth of keys, to a more expansive range that tallies with that of any acoustic piano – there’s a keyboard size for everyone. Typically, keyboard controllers come with 25, 49, 61, or 88 keys. The number of keys you should settle for depends on how you’ll be using the controller.
Smaller studio settings will struggle to accommodate larger keyboards. Likewise, if you’re creating tunes that span the entire harmonic scope, you’ll be sorely limited by mini keyboards. Another important factor to ponder is range mapping. Sometimes known as keyboard splits, this feature assigns sets of keys to different sounds. It’s a quick way to switch between instruments. A substantial amount of orchestral samplings are mapped to the bottom of the full key range. In short, if you’re planning on getting the most out of your instrument library, you’ll be better off with more keys on your controller.
Key action
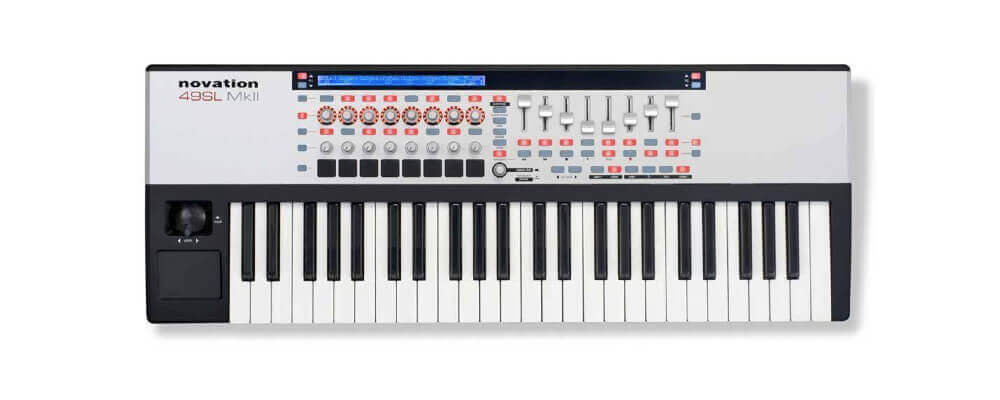
Sure, all the trimmings around the keyboard’s sides are important. But the way the keyboard plays on its own is equally crucial to the experience. Think about how you want the keys to feel as you press down on them.
Synth-action keys are ideal for musicians who have a lighter touch. Hence, they’re also great if you’re going to be playing speedy parts or complex arpeggiations. That’s because the spring-loaded keys are significantly lighter than regular keys. They also bounce back to their resting position much faster.
But if you come from a piano-playing background, you’ll find weighted keys much more pleasing, since they don’t give as easily. Semi-weighted action keys are heavier than synth actions, yet still maintain some springiness. And when you’re really looking for authenticity (and a finger workout), turn to high-resistance weighted hammer action keys.
Aftertouch and velocity
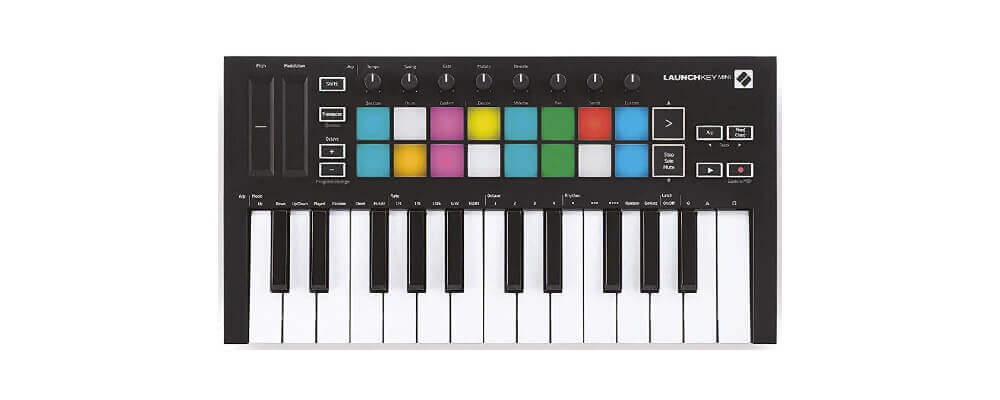
Closely related to key-action, aftertouch refers to the amount of pressure applied to key/pad after it has been pressed down. Think the vibrato that remains after the lead line has ended. Without releasing the note, it gives the impression of the player leaning deeper into the keys. It’s a no-fuss way to add a bit of oomph to your tune without the hassle of pitch-shifting via mod wheel or joystick.
Monophonic (channel aftertouch) measures a single pressure value for the whole of the keyboard, regardless of which key you’re pressing. Polyphonic aftertouch, on the other hand, allocates different signals to individual keys. Let’s say you’re holding a chord down while pressing one of the keys harder than the rest. That note would be noticeably louder than the others when played on a keyboard with polyphonic aftertouch. Monophonic aftertouch, however, will cause all of the notes in that chord to grow louder at the same time.
On keyboards, the force with which notes are played is called velocity. Adjusting key velocity helps to duplicate the natural tonal variations that we’d hear on acoustic instruments. If you keep velocity constant across all notes, you’ll get a perfectly uniform sound. Switching up velocity helps to “humanise” your performance. As a brief aside, velocity sensitivity is practically a given with modern keyboards. Still, it never hurts to make sure that your controller’s settings tallies with what with you want the end result to sound like.
Wheels
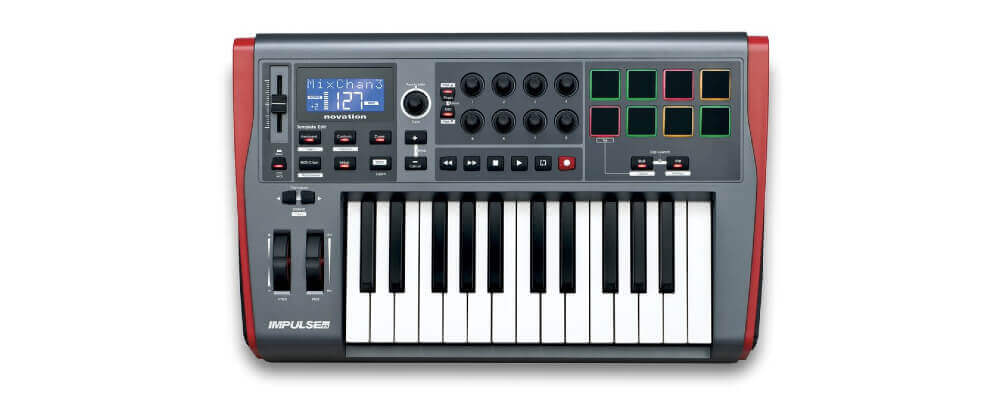
If you’re really looking to individualise your playing style, seek out controllers with wheels. Pitch bending wheels smoothly modulate pitch at a finger’s notice. They’re pretty straightforward, sort of like on-the-fly transposing. Modulation wheels have more nebulous roles. Depending on how you’re wielding them, they’re capable of adding expressiveness to your tone. Adding vibrato, dialling rotary speaker simulation up or down – these are all elements that can be chained to mod wheel parameters.
Added controls
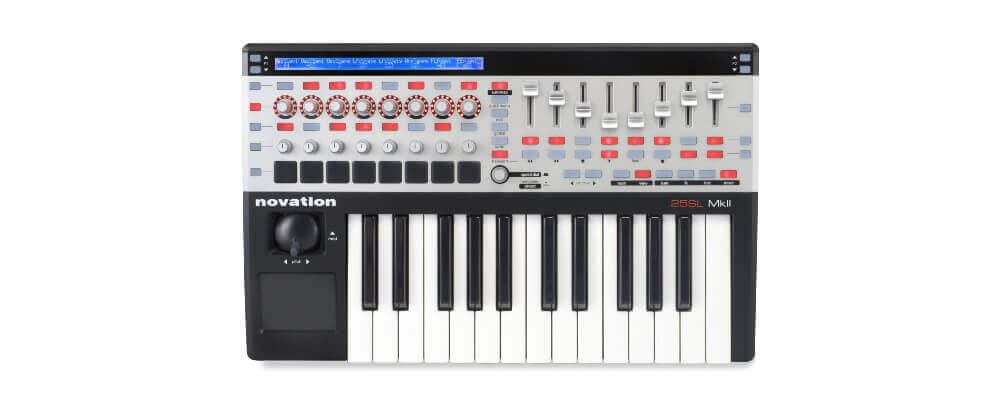
Not a strict necessity, but these bits and bobs are fun to have. Especially if you’re someone who values experimentation.
Continuous controllers (CCs) are MIDI messages that transmit a range of values for factors like volume, pan, data sliders, and so on. Most DAWs ably auto-map CCs to just about any controllable aspect of your application. If you know what you’re doing, adding CCs to sequencing can breathe new life into MIDI compositions.
You might have noticed heaps of controllers with a little padded-out section. These buttons serve many purposes. Treat them like little drum pads when you want to intersperse percussive parts in your playing. You can also program them to be toggles for other features, like solo mode or muting.
Certain keyboards also come with DAW auto-mapping controls. While modern DAWs generally don’t require much prodding when it comes to syncing, having an onboard tool has its perks. Namely, you don’t have to keep defaulting to a computer’s mouse or keyboard to get the job done.
There’s also the option of keeping it a little more old-school with a pedal addition. In fact, some controllers even have designated inputs for added sustain/resonance and expression pedals. Already got your own? Super! Plug in and play like you would normally. Just give the polarity setting a quick once-over first.
Controller pads
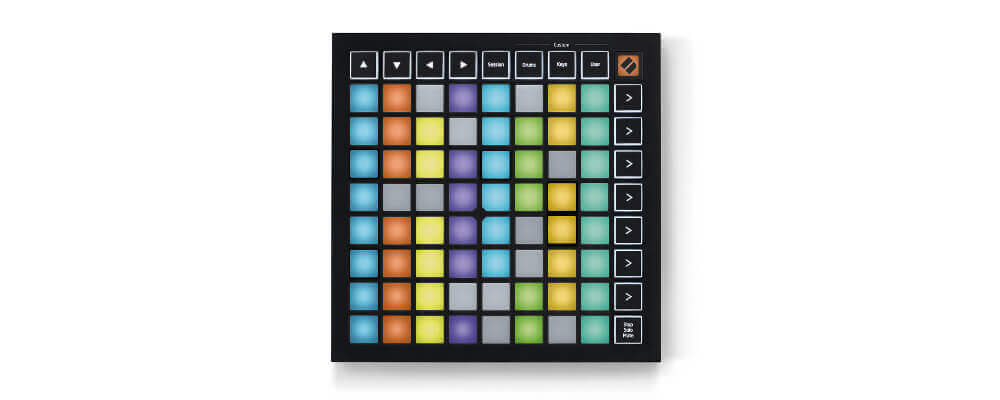
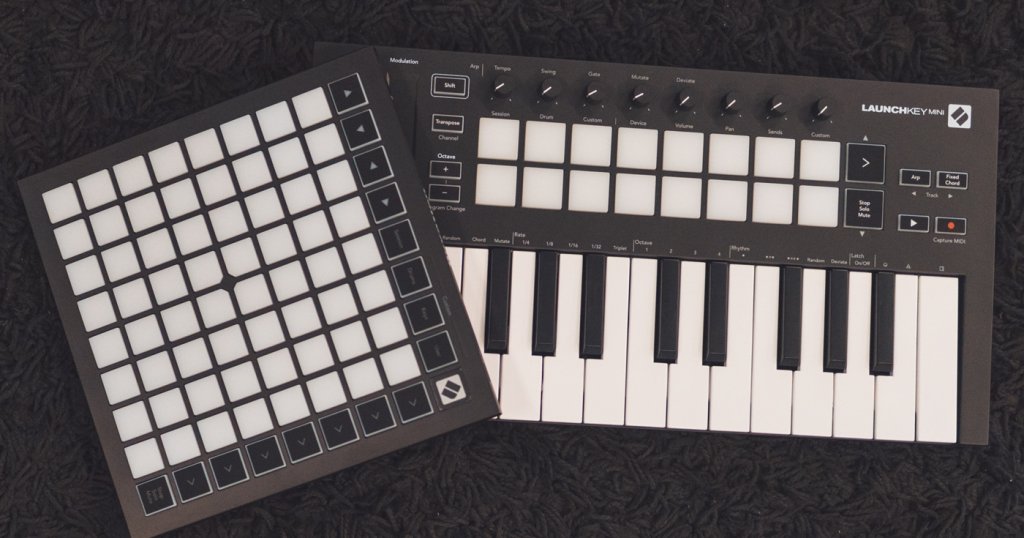
Often dubbed as the other side of the MIDI controller spectrum. Gone are the black and white keys. In their place instead, a grid of velocity-sensitive performance pads. Each button is infinitely multi-functional in its purpose. Use them to trigger instruments or beats; colour-coordinate them to your performance dynamics; keep loops going – whatever you can imagine!
Much like their keyboard counterparts, controller pads come in an array of shapes and sizes. Along with the bank of pads, they might also include knobs, sliders, buttons, and even LCD touch screens. Their highly-stylish looks make them ideal for cool DJ gigs, especially when the pads are backlit. As always, tinier controllers are way more portable. Controllers kitted out with everything but the kitchen sink, so to speak, will therefore weigh more and take up major real estate on your desk.
Alternative controllers
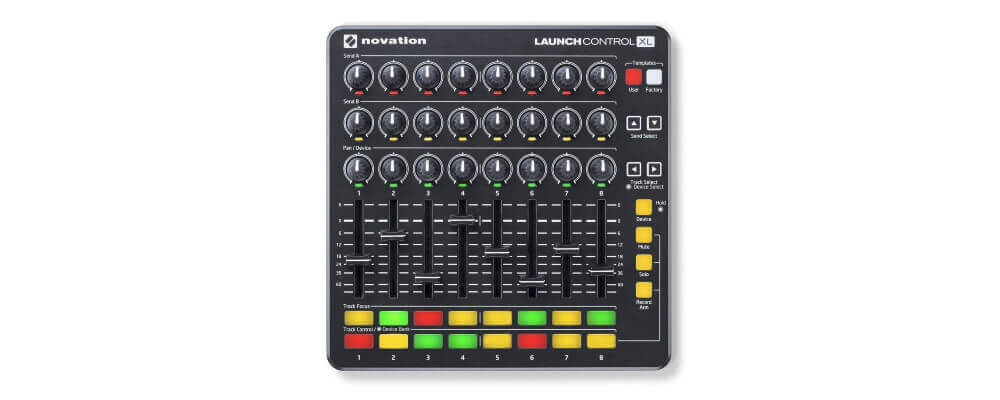
Though the keyboard and pad layout may be the industry’s poster children for MIDI controllers, there are other less typical devices available. To begin with, the never-fail computer. Or phone. Thanks to ingenious developers, apps that receive and transmit MIDI data via the USB/lightning port or Bluetooth are now a thing. Adding one of these apps to your workflow might even streamline the production process, since they’re designed to be all-rounders. Plus, they’re inexpensive enough to at least warrant a test run.
But if you want something physical to mess with, there are other unconventional fallbacks. Twister panels are arrayed with CC encoding knobs, with each dial serving as an individually-mapped button. Or the MIDI guitar/bass, which actually pairs with software to track audio signals almost latency-free. Then there’s the MIDI wind controller for woodwind instrument players who want their own slice of sound modulation. Still can’t let go of your keyboard controller? Maybe wean yourself off with a MIDI keytar. It’s pretty much the same thing, just in a smaller, strap-on version.
Got all that? Then you’re good to go. Don’t forget that buying a MIDI controller is just like choosing any other instrument or piece of gear. It’s a highly-personalised experience. Take into account your brand of playability, functionality, and musical identity. And if you can’t find just one device that works for you, it’s ok to invest in a few that can work together for your needs. Quality and quantity can coexist, after all.
Now it’s your move. Take the next step over at Swee Lee, where you can check out all our recording gear for yourself. Scroll through the website beforehand to identify items that might suit your style. Don’t click away without leaving your particulars in our mailing list first. Because missing out on future promotions is not a mistake you’ll want to make.
